Project Checklist
Gather the materials and tools before work begins.
Materials
- Gravel: 2–3 inches for decorative areas or 4–6 inches for driveways
- ABC base or fines, when needed
- Landscape fabric and pins, when appropriate
Tools
- Measuring tape and marking paint
- Shovel, rake, and wheelbarrow
- Plate compactor or hand tamper
- Garden hose or another water source
Plan & Measure
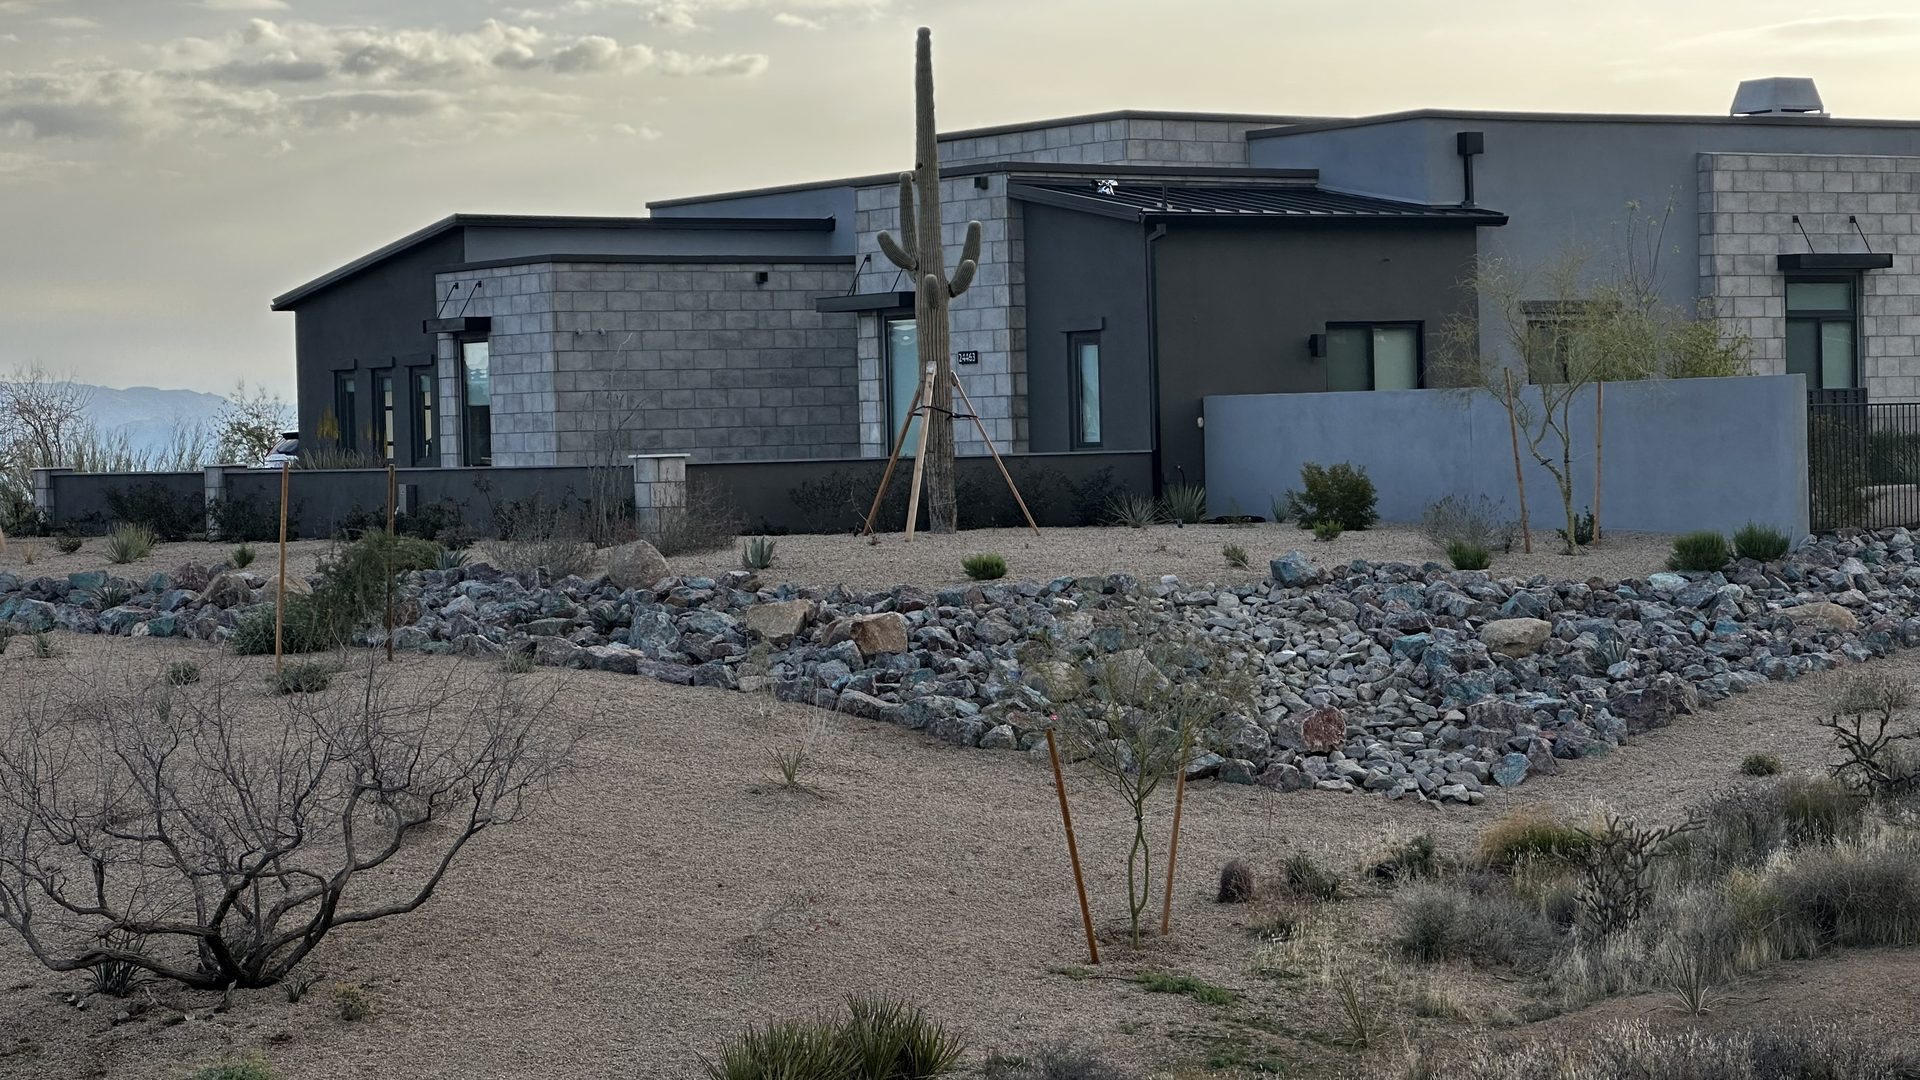
Mark the project boundaries and calculate the square footage. Plan for 2–3 inches of material in decorative areas and 4–6 inches where vehicles will drive or park.
Clear & Grade
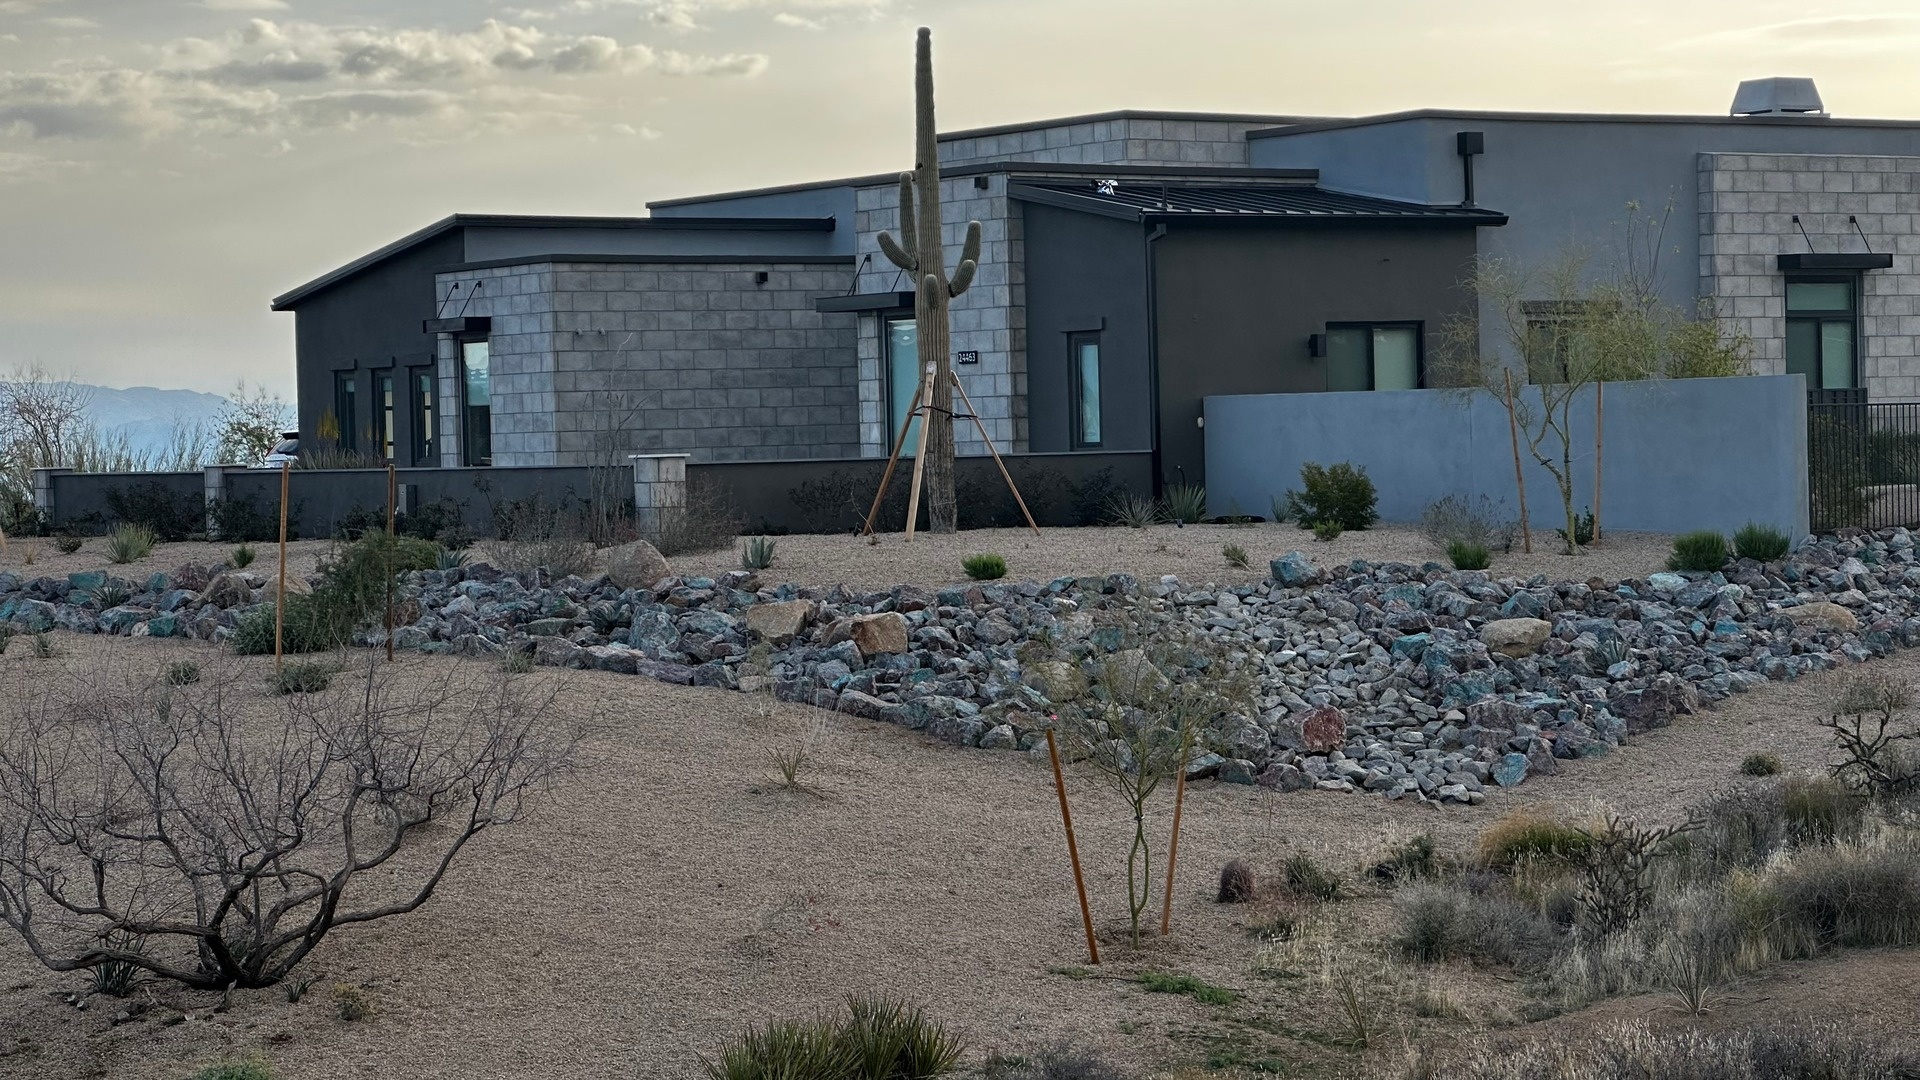
Remove vegetation and excavate to the target depth. Grade the base to drain away from structures with about a 2% slope to prevent pooling.
- Compact the subgrade lightly before adding base.
- Verify elevations at driveways, gates, and drainage paths.
Install Landscape Fabric (Optional)
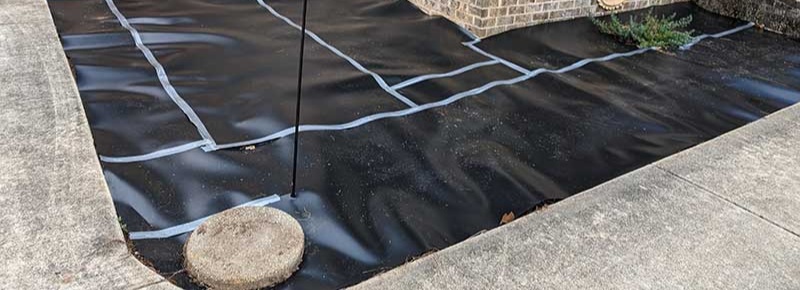
Use professional-grade fabric to suppress weeds and improve stability in light-use areas. Overlap seams by 6–12 inches and pin every 12–24 inches.
- For driveways, many professionals place fabric below the ABC base in weak soils.
- Trim around irrigation, trees, and edges cleanly to prevent exposure.
Spread & Compact Gravel
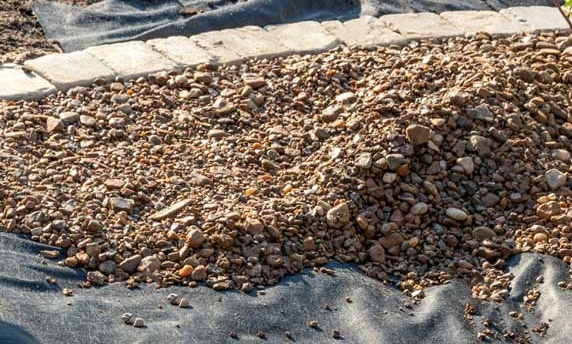
Spread evenly with a rake. Compact in 2-inch lifts for a dense, durable surface; lightly water to help fines lock. Repeat until you reach the design depth.
- Keep edges contained with metal, paver, or concrete borders.
- Avoid over-watering; aim for damp, not muddy, passes.
Rinse & Reveal
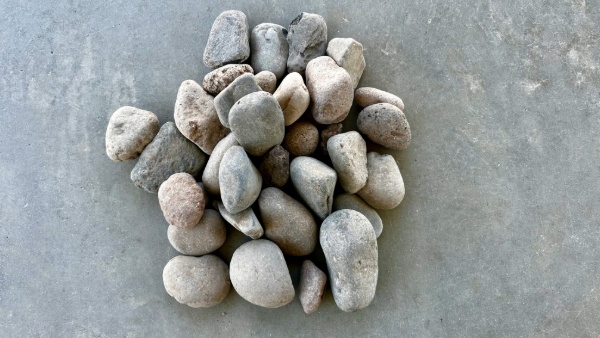
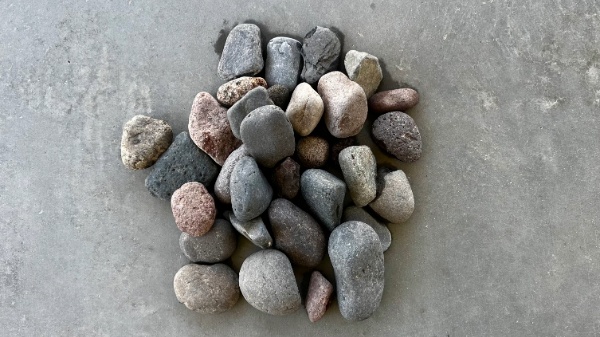
Use a garden hose to rinse dust and fines. This reveals the true color of the rock and helps the surface settle.
- Spot top-off low areas after the first week of use.
- For color-sensitive projects, rinse a sample area first to preview the finish.
Common Mistakes to Avoid
- Using insufficient depth in vehicle areas—plan for at least 3–4 inches.
- Failing to create drainage away from structures—target approximately a 2% fall.
- Skipping compaction or compacting lifts thicker than 2 inches.
Always verify HOA, city, and utility requirements before starting. Call 811 before any digging. Arizona Sand & Gravel is not responsible for improper installations.