Project Checklist
Confirm the site plan and gather the materials before construction begins.
Materials
- Compacted aggregate base selected for the native soil
- Arena sand or engineered footing appropriate for the riding discipline
- Drainage stone, geotextile, or stabilization materials when required
Equipment
- Laser level, transit, or contractor grading equipment
- Roller or plate compactor sized for the project
- Water source and arena drag for ongoing maintenance
Plan the Site & Drainage
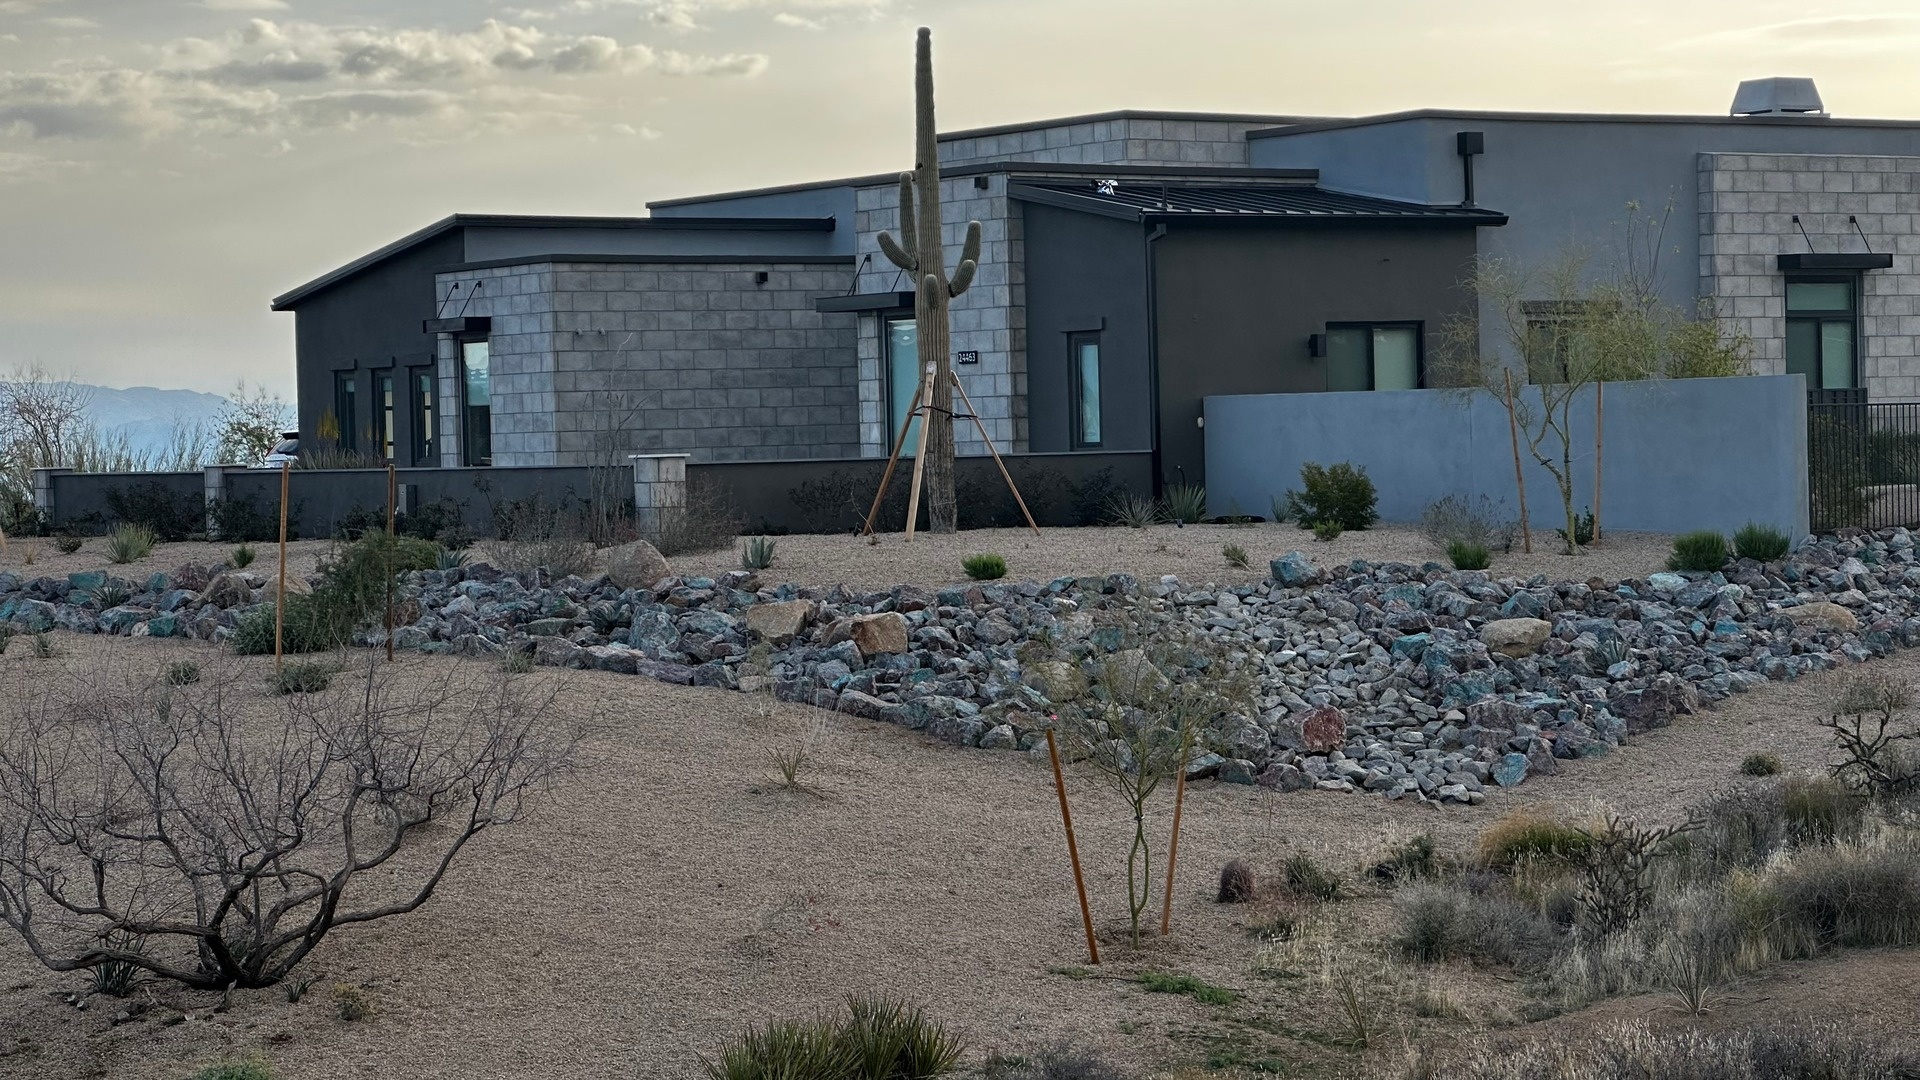
Choose a naturally elevated location when possible. Direct runoff away from the riding surface and avoid placing the arena where stormwater collects or crosses the site.
- Locate utilities and call 811 before excavation.
- Plan gates, equipment access, fencing, and irrigation before grading.
Prepare & Compact the Base
Remove organic material and unstable soil, establish the design grade, then install the base in compacted lifts. The finished base should be firm, consistent, and shaped to move water without creating abrupt slopes.
- Compact each lift before placing the next layer.
- Repair pumping, soft spots, and low areas before footing is installed.
Choose the Right Arena Footing

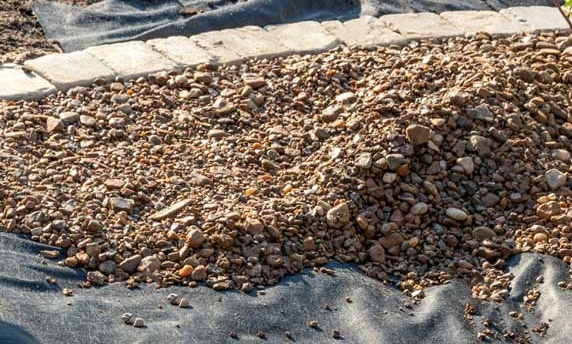
Select footing by riding discipline, traffic, climate, and maintenance capacity. Particle size, angularity, fines, and depth all influence traction, cushion, and how quickly the surface compacts.
- Inspect a sample before ordering the full quantity.
- Do not choose footing by color alone.
Install to a Consistent Depth

Place the footing evenly across the finished base and verify depth on a grid. Start conservatively: footing can be added after riding tests, but excess material is costly to remove.
- Keep the base layer undisturbed while spreading footing.
- Ride-test the surface before ordering a supplemental layer.
Water, Drag & Maintain
Use consistent moisture and drag the surface frequently enough to prevent hard tracks, loose pockets, and material buildup at the rail. Maintenance frequency should reflect weather, footing type, and daily use.
- Reset footing depth after heavy rain or intensive use.
- Inspect drainage outlets, low areas, and gate approaches regularly.

Common Mistakes to Avoid
- Adding footing over an unstable or poorly drained base.
- Installing too much footing before testing how it rides.
- Allowing material to migrate toward rails, gates, and high-traffic tracks.
Arena design requirements vary by soil, drainage, riding discipline, and local rules. Consult qualified grading, drainage, and equestrian-surface professionals for site-specific recommendations.